
Shelves are a simple yet effective solution for organizing your home. Whether you want to declutter a small space or enhance the storage in your living room, shelves offer a great way to make use of wall space. Installing shelves may seem like a challenging task, but with the right tools and a bit of guidance, anyone can do it. In this article, we’ll show you how to install shelves to make your home more organized and functional.
Choosing the Right Shelves for Your Home
Before you start installing shelves, it’s important to choose the right type and size for your needs. Here are the key factors to consider:
Types of Shelves (Wall-mounted, Floating, etc.)
There are several types of shelves, each suited to different purposes:
- Wall-mounted shelves: These shelves are secured to the wall with brackets and are ideal for heavy items.
- Floating shelves: These shelves have no visible brackets and appear to “float” on the wall. They’re perfect for displaying decorative items or light objects.
- Corner shelves: Designed to fit into corners, these shelves maximize unused space and are great for smaller rooms.
Size and Placement Considerations
When selecting shelves, consider the available space.
- Make sure the shelves will fit the area you have in mind without overwhelming the room.
- The shelf size should be appropriate for the items you want to store. Larger shelves can hold more, but they may take up more space.
Material Options
Shelves come in a variety of materials, and the best choice depends on the room’s style and the items you plan to store.
- Wood: Classic and versatile, wood shelves are perfect for most homes.
- Metal: For a modern look, metal shelves work well, especially in kitchens or bathrooms.
- Glass: Sleek and minimal, glass shelves can add a touch of elegance to living rooms or offices.
Each material has its advantages. Wood is sturdy and adaptable, metal offers a sleek and industrial look, while glass creates a more open, airy feel.
Tools and Materials Needed for Shelf Installation
Having the right tools and materials is crucial for a successful shelf installation. Here’s a list of what you’ll need:
Basic Tools for the Job
- Drill: Essential for creating holes in the wall for the shelf brackets.
- Measuring tape: To measure the space and ensure the shelves are evenly placed.
- Level: To ensure your shelves are straight and aligned.
- Screwdriver: To secure the screws for the brackets.
Materials for Installation
- Shelf brackets: These will support your shelves. Choose sturdy brackets according to the weight of the items you plan to store.
- Wall anchors: If you’re not drilling into studs, wall anchors will help keep the shelves secure.
- Screws: Choose screws that fit your brackets and wall anchors.
Safety Gear
- Safety goggles: Protect your eyes while drilling.
- Gloves: To protect your hands during installation, especially when handling tools or sharp materials.
With these tools and materials, you’ll be ready to install your shelves safely and efficiently.
Preparing for Shelf Installation
Proper preparation ensures a smooth installation process. Here’s what you need to do before you begin drilling into your wall.
Measuring the Space
Accurate measurements are key to ensuring that your shelves fit in the space you’ve chosen. Measure the area where you plan to install the shelves, and decide how high you want the shelves to be. Use a measuring tape to mark the spot where the brackets will go.
Marking the Wall
Once you’ve measured and decided where the shelves will go, use a pencil to mark the positions of the brackets. Make sure the marks are level to avoid crooked shelves. Use a spirit level to check that the lines are straight.
Checking Wall Type and Studs
It’s important to know whether your wall has studs or if you need to use wall anchors.
- Studs provide more support for heavier shelves.
- Drywall anchors can be used if there are no studs where you want to install the shelves.
Use a stud finder to locate the studs, or tap the wall gently and listen for a solid sound that indicates a stud.
Step-by-Step Guide to Installing Shelves
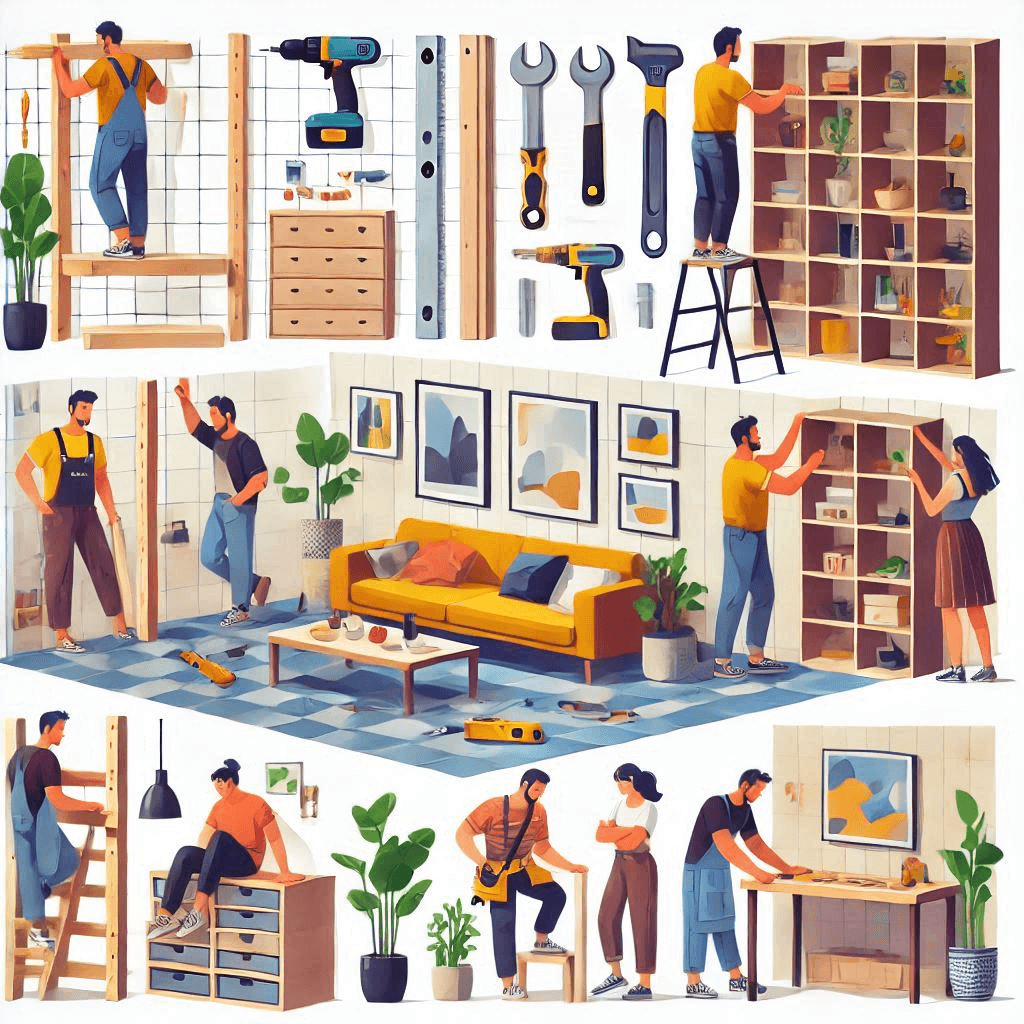
Now that you’re prepared, here’s a step-by-step guide on how to install your shelves.
Step 1: Gather Tools and Materials
Before you start, gather all your tools and materials. Make sure your drill is charged (if cordless) and that you have the right-sized screws and anchors for your wall type. Having everything ready will make the installation process quicker and more efficient.
Step 2: Mark the Shelf Placement
Use a level to mark the positions where the brackets will go. Double-check your measurements to ensure the shelves will be level. If you’re installing multiple shelves, make sure the marks are spaced evenly for a neat, symmetrical look.
Step 3: Drill Holes for Brackets
Once the marks are in place, use your drill to create holes for the brackets. Be careful not to drill too deep, especially if you’re drilling into drywall. If you’re drilling into studs, you won’t need wall anchors. For drywall, insert anchors into the holes to provide extra support.
Step 4: Install the Brackets or Supports
Attach the brackets to the wall using screws. If you’re installing floating shelves, make sure the supports are securely in place before placing the shelf. Ensure everything is level before tightening the screws.
Step 5: Place the Shelves on Brackets
Once the brackets are securely installed, carefully place the shelves on top of them. Check that the shelves are stable and that they’re positioned evenly.
Tips for Maintaining and Organizing Shelves
Proper shelf maintenance and organization can help keep your space neat and functional. Here are some useful tips:
Regularly Check for Stability
- Inspect shelves periodically for any signs of looseness or damage.
- Tighten screws if needed to ensure the shelves remain secure.
- Check the weight regularly, as overloading can cause shelves to sag or collapse.
Keep Shelves Organized
- Use baskets and bins to organize smaller items.
- Label storage boxes to make it easier to find items.
- Keep decorative items balanced for a visually pleasing arrangement.
Don’t Overload Shelves
Make sure the weight of the items on your shelves does not exceed the weight limit. Overloading shelves can cause damage to the brackets or the wall itself. Always distribute the weight evenly across the shelf.
Conclusion
Installing shelves is an excellent way to organize your home and maximize available space. By following the steps outlined in this article, you can add practical and stylish shelves to any room in your home. Whether you’re storing books, displaying decorative items, or organizing office supplies, the right shelves will help you keep your space neat and tidy.
Start today, and enjoy the transformation of your home into a more organized and efficient space. With the right tools, preparation, and techniques, installing shelves can be a rewarding DIY project.