Building your own DIY shed is a rewarding project that can save you money and give you a space to store tools, garden supplies, or create a small workspace. Even if you are a beginner, constructing a shed can be easier than you think with the right preparation and guidance. In this guide, we’ll take you through the essential steps, from planning to finishing touches. With a little effort and patience, you can create a sturdy and functional shed that will last for years.
Planning Your DIY Shed
Before you pick up any tools, it’s important to plan your shed. Understanding the purpose and choosing the right location will help make the construction process much smoother.
Determine the Purpose of Your Shed
Deciding the purpose of your shed is the first step in your planning process. Will you be using it for storage, as a workshop, or perhaps for gardening tools? Knowing this will help you determine the size, design, and interior layout of the shed.
- Storage sheds need enough space for shelving or large equipment.
- Workshop sheds should include room for a workbench and tools.
- Garden sheds may need space for pots, soil, and small gardening tools.
Determining the shed’s purpose helps in both space planning and material selection, ensuring your shed meets your needs.
Choose the Right Location
Selecting a good location is crucial for the longevity of your shed. Make sure to choose a flat, level area where water won’t collect, as this could cause damage over time. Look for a spot that’s easy to access but won’t block pathways or take up too much of your yard.
- Ensure the location is level to prevent shifting.
- Check local zoning laws to ensure there are no restrictions.
- Make sure the location has adequate drainage to prevent water damage.
A proper location ensures your shed will be stable and last for many years.
Gather the Necessary Tools and Materials
Before you begin building, gather all the tools and materials you’ll need. This will save you time and effort during construction.
- Tools: hammer, measuring tape, saw, drill, level, screwdrivers.
- Materials: wood (2x4s, plywood), nails, screws, shingles, roofing felt.
- Safety gear: gloves, goggles, ear protection.
Having everything ready will make the construction process smoother and more efficient.
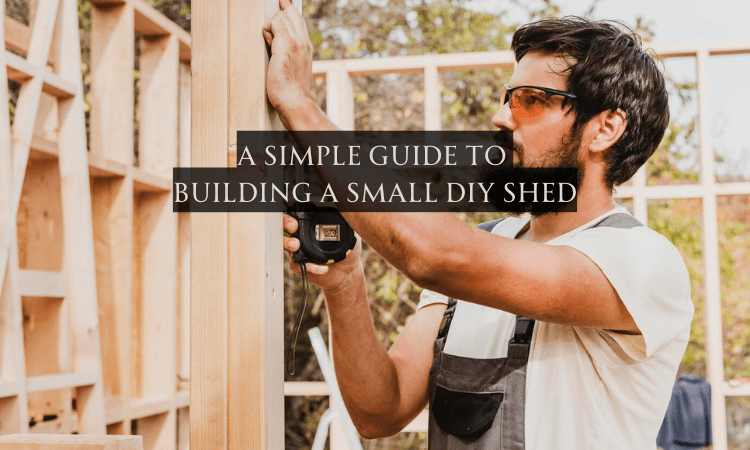
Step-by-Step Construction
Once you’ve planned your shed, it’s time to start building. This section breaks down the construction process into manageable steps to help you create your shed without stress.
Build the Foundation
The foundation of your shed is the base that will support the entire structure. You can choose between a concrete slab or a wooden base. A concrete slab is more durable, while a wooden base is easier and quicker to build. For a concrete foundation, pour concrete into a frame to create a solid base. If you choose a wooden base, lay treated wood beams on concrete blocks or gravel to keep the shed off the ground. Make sure your foundation is level to ensure stability.
Construct the Shed’s Frame
The frame provides structure and stability for the shed. Start by building a rectangular base with treated wood to resist decay, then add vertical beams for the walls. Attach horizontal beams at the top for support. Be sure to check that the frame is square and level, as any unevenness can affect the shed’s overall strength.
Install the Walls
With the frame in place, attach the walls using plywood or wooden panels. Cut the panels to fit the size of the walls and secure each one with nails or screws. Make sure the walls are level as you go. Properly installed walls provide support for the roof and help keep the shed weather-resistant.
Add the Roof
Once the frame and walls are complete, it’s time to install the roof. A simple gable or shed roof is ideal for most DIY sheds. Build roof trusses to support the roof, then attach them to the top of the walls. After that, install your roofing material, ensuring there’s an overlap to keep the shed dry. A secure roof is essential to protect the contents of your shed from the weather.
Install the Door and Windows
The door and windows are crucial for accessibility and ventilation. Measure the door space carefully, and either build a simple wooden door or buy a pre-made one. For windows, choose small sizes that allow airflow and natural light but ensure they are properly sealed to prevent leaks. A functional door and windows make your shed easier to use and more comfortable.
Final Touches
Once the basic structure is complete, you’ll need to add finishing touches to ensure the shed is both functional and visually appealing.
Paint or Seal the Shed
To protect the wood from the elements, it’s important to paint or seal your shed. Choose a paint that’s designed for outdoor use, or use a wood sealant to protect against moisture, mold, and decay.
- Use exterior-grade paint or wood sealant.
- Apply at least two coats for maximum protection.
- Don’t forget to paint or seal the door and windows as well.
This step ensures your shed remains in good condition and lasts for years.
Organize the Interior
Now that your shed is built, you’ll want to organize the inside to make the most of the space. Add shelves, hooks, or pegboards to keep tools and other items neatly stored.
- Install shelves for storing boxes or gardening tools.
- Use hooks to hang gardening tools, hoses, or brooms.
- Add a workbench if the shed is going to be used as a workshop.
Organizing the interior makes your shed more useful and efficient.
Conclusion
Building a small DIY shed is a manageable project with proper planning and effort. From determining the shed’s purpose to adding the finishing touches, every step plays a key role in creating a functional, long-lasting structure. Take your time with each step, and soon you’ll have a shed that meets all your needs. Whether you’re using it for storage, a workshop, or gardening, your new shed will be a valuable addition to your property for years to come.